Monday, May 2, 2011

Round three - sorry no pictures

I forgot to take pictures before starting to use these wonderful swaps - sorry about that. However, as I type, I just remembered that I still have those swaps in a box here for one member - I may use hers to get some pics posted. It was another wonderful round.

BTW-I finally found my Graphic 45 swaps - they will be coming out with round four (sorry, just a really tough month).

So - since no pictures from swaps to display - here are a few layouts I did for a Bingo Challenge over at www.scrapbookingfun.biz. I used swaps on the following layouts (and card) - love them - they make layouts go soooo quickly! Thanks so much to anyone who created one of the swap pieces I used.


Wednesday, February 23, 2011

Tuesday, February 8, 2011

Cricut Cartridge Bundle Giveaway!!!!


Really! All three cake cartridges are up for this give-away. You may enter once per day (twice per day if you are a member at www.scrapbookingfun.biz) for a chance in this wonderful drawing!

Check out the details at www.scrapbookingfun.biz and have a great day!

Monday, January 24, 2011

Good Morning!


I am finally getting around to updating my blog in the new year. Although busy (who isn't?), I have had some time to create. Family is doing ok (dh home sick), and the fireplace is very warm. It is also 35 degrees warmer than yesterday morning at this time, so all is well.

A few recent creations:

Above - just a fun creation for a Fast Scrap Friday with Sunshine as the topic. The little flower in the lower right corner is simply scraps! It is the inside parts from some medallions I cut on my cricut - love recycling that way :). The top tag is for my first tag/charm/pin swap ever. Next is a card for someone who isn't feeling so great and finally - a messed up tag attempt that has endeared itself to me. I king of like the coloring now and it will be used as an element on a page.


Tuesday, December 28, 2010

52 Week Swap - Round One - Complete!!

Below are pictures of items from the swap. A few of mine look different here than what you receive - if I messed up (yep, I did that), I kept the bad one, however, I should have taken pics before I sent these off. Oh well, you have the basic idea.

Everyone who remembered two layers, two embellishments (unless otherwise indicated), and followed size guidelines did a fantastic job!! I know there are a lot of guidelines, but it is just to try and get similar quality items. This is a swap I will be happy to use in my books.

To the ladies who did three dimensional flowers - would you be interested in teaching an online class? If so, let me know via email and I will go over details with you.

Sorry pictures aren't better, but you can get a good idea of how things are from them.

I love the different takes we all had on different items. The results are wonderful.

Sunday, December 5, 2010

Christmas Tag

This is my take on the Day 5 Tag from this year's Tim Holtz 12 Tags of Christmas.

Of all the products he used, I only had some stickles, but they weren't the same ones, but oh well - love to try new things - so here is what I did:

Plain tag I messed up the stamped image - use the back side :) No waste that way


Next, I don't have the dabber paints he is using, so here goes with the imprintz white inkpad


I don't have the ink blending tool either, so used my two red inkpads and put the ink on with a foam brush (edges aren't quite right - I also added a burgundy and went back over the edges with white)
Instead of the mini-mister (another tool not around here), I used some paint and paintbrush flicking technique

Next - stamp a Santa Image and some Holly Leaves. However, since I don't own holly leaves, I used something that kind of looks like pine boughs
Next - distress stickles in green. No distress, but I do have green :) Heat set with embossing gun -- wait a minute - heating the stickles makes them bubble :) - unique effect, but just something to know about. It takes longer than I expected too. I think I liked them better before the heat - but it is unique look (unique smell too LOL)

Rub paint on image and dry - I just used my white ink pad and what are evidently very large fingers LOL

Next - a Merry Christmas Stamp (Yuletide Greetings) and higlighting with white ink pen (I used my gold smooch ink instead) I also added some gold to the top where there where 'holes'

Next a diecut with grungepaper. No die or grungepaper. So - started with a 1 1/2" tall x 2 1/2 " wide scrap of green paper. cut out a similar shape and ink the edges. I just thought - cricut may have a shape, or a rectangle and circle - lots of choices - but using what is quick and easy right now :)

Next - music paper from my stash (ink the edges) is added to the diecut shape and adhere to your tag (I did alter my shape a bit more)
Next a 2 and a 5 - I don't have metal letters or utee, so first I cut some Alphalicious letters with the Cricut (1 1/2 "). Then inked and embossed. I used some Christmas green tinsel glitter embossing powder that I don't really like for a lot of things, but in this case - I do :) I put two layers of embossing powder on each number. Then I inked the edges a bit with brown. Not a vintage porcelain look, but I like what I have. (however, next time, I plan on 1.25" letters - they are a bit big). I attached my letters with pop dots behind and brads to try for a more raised look.

Next - three colors of foliage. I used some chipboard piece, a silk flower, a punched star piece of scrap and an ornament charm for mine. Placement is also different, but my greeting takes more space. (Yes, I should look at goal before just starting ROFL :) :)

Add some ribbon - then he had jingle bells - I am out, so used one sheer and one printed ribbon instead and the fluff to santa. I used cotton rather than the paint stuff he shows. Also added some red stickles to his hat. Corner is just plain :) If I had a jingle bell or something, I may add, but just leaving for now

One last photo - I just couldn't leave the upper left corner plain and noticed there were holly leaves in later photos - added some stickles in green, but probably won't use heat gun - not sure yet.

Wednesday, November 17, 2010

Great Give-away

over at Scrapbooking Fun.

If you complete the seven days, you get entered into a drawing for a wonderful Stamping kit (stampin up brand, maybe?)


Anyway - just register with the site and follow what it says. It would be great to "see" you.

Peanut Update

Peanut is a nice little heifer these days. She is growing well and likes other cows, though still hangs out with her buddy, Waffles, the donkey, quite often.


Izzy and Iko are coming along quite well too. They have nice, thick coats for winter and will be spending their time in the pen with the rest of the ewe lambs.


Ds completed a shearing school out at NDSU this past weekend - he plans to work shearing for others to be a way to help increase his cash flow for his sheep project.


Still having fun scrapping - below is a picture of an ornament I made with a borrowed Sizzix die, grungeboard, copic markers, liquid crystal, and just had some fun.

Wednesday, November 3, 2010

Finished up a swap

The first one I have participated in over at the Cricut message board. Had a lot of fun creating. A few of the winter pieces are in the post below this one.

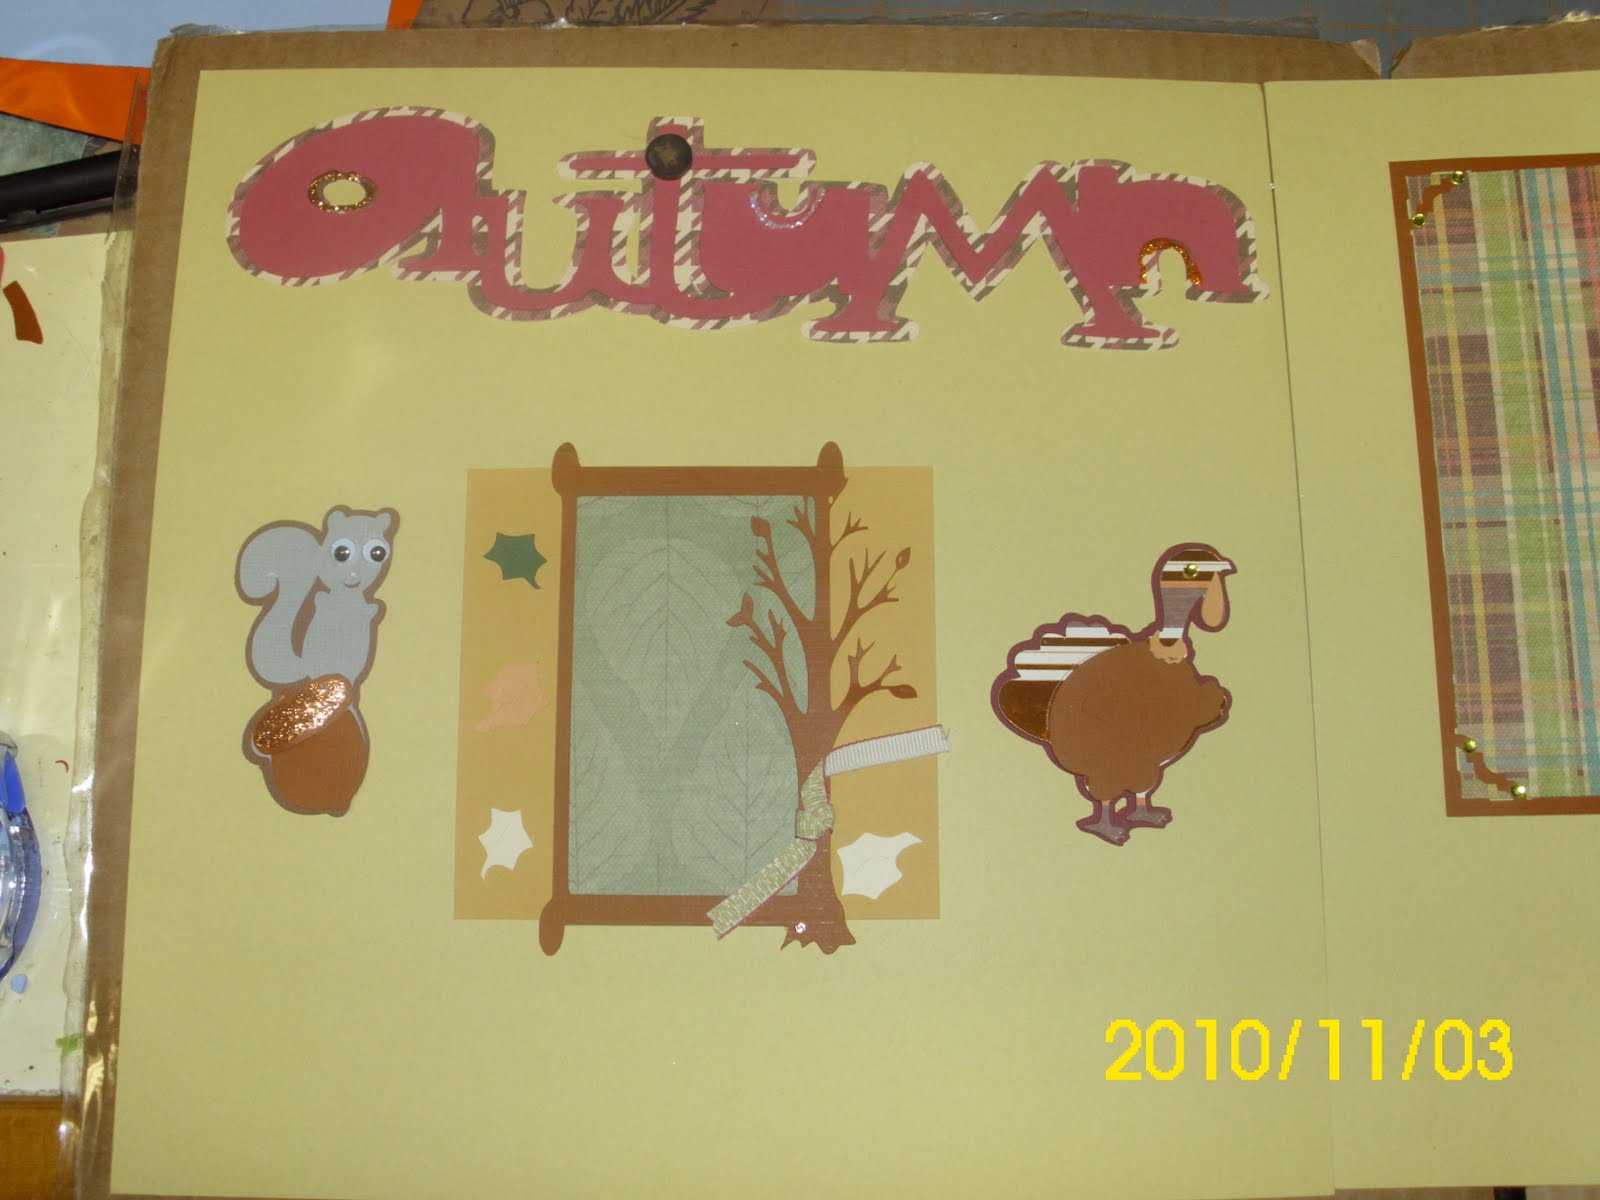
The fall/Thanksgiving were fun. My extra piece is the little squirrel. I do enjoy googly eyes.


The Birthday Boy set was fun, but I think I would end up spreading out the items over two or three pages since I tend to take a lot of pictures. But, below is a sample layout anyway. I didn't include sticker pics as they are the extra with this set.

Friday, October 29, 2010

Making Pages at Cricut

Issues with the Cricut message board, so just in case anyone stops by - working to complete pieces swap.

A few parts from the winter group: